In the previous lesson, you learned about how to use layer styles in Photoshop. Today’s content is about the Brush tool, a tool that is also used very often in Photoshop.
About Brush
As the name suggests, we use different brush styles in Photoshop to paint. Brush is very flexible in use, not only for painting but you can use it in combination with other tools to select image areas, edit and delete unwanted areas quickly. This is an important tool, quite complex and many options if you learn in depth.
In this lesson, I will present the most basic knowledge, so that you can understand how to use Brush.
Components of Brush
First you create a new Photoshop file with a white background, if you do not know how to create it, you can review the lesson How to create a file in Photoshop.
Next, select the Brush tool in the left toolbar. Then go to Window -> Brush to turn on the Brush Panel (the shortcut to turn on the Brush Panel is F5). In addition, you can go to Window -> Brush Presets to turn on more brush management panels, which I rarely use.
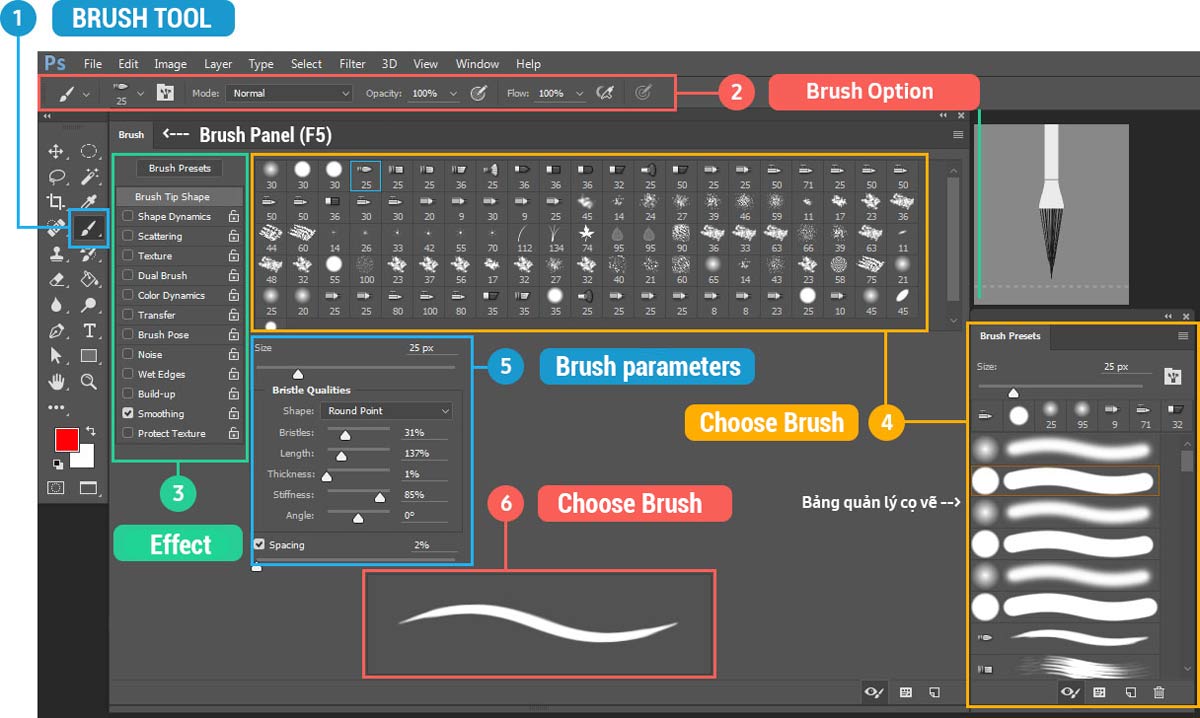
The image above is the components of the Brush
- Brush Tool in the Tool box (Shortcut B).
- The Brush Option bar allows you to select the brush, adjust the size, and the transparency.
- Brush effects. Clicking on each effect will display on the left the options for that effect.
- Select and manage brushes.
- Brush parameters. You can adjust the shape, angle, density, distance, etc. of the brush.
- Brush stroke preview.
How to use Brush
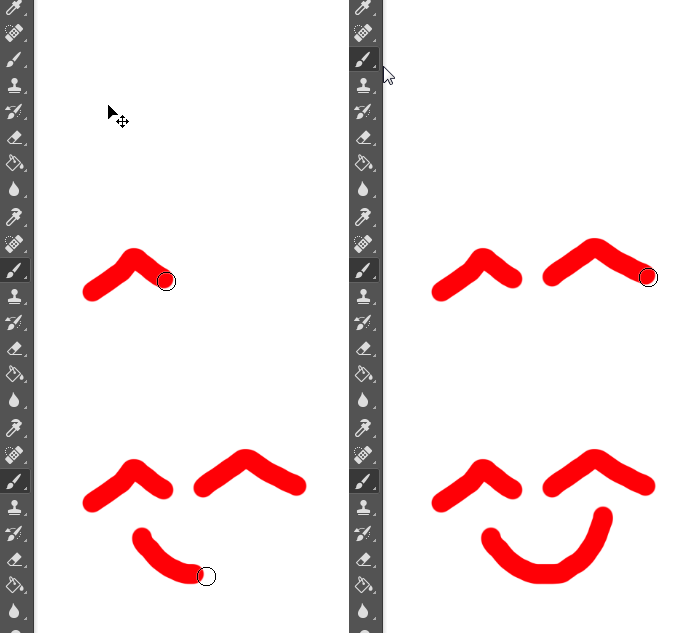
You can immediately draw on the newly created file. Try scribbling a few times.
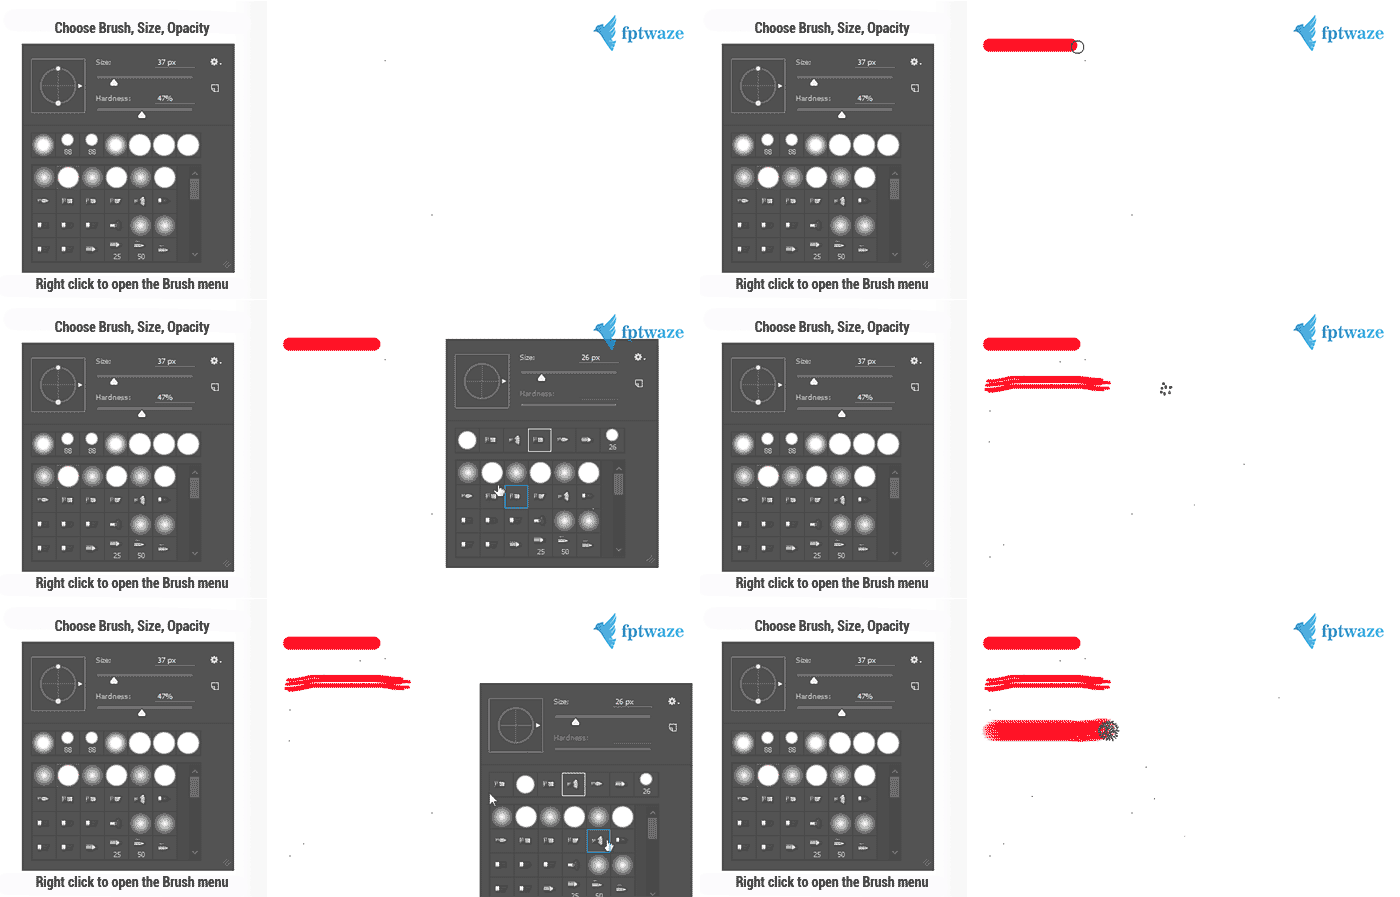
When drawing, you can also right-click to quickly access the toolbox that allows you to change the brush size and change the brush.
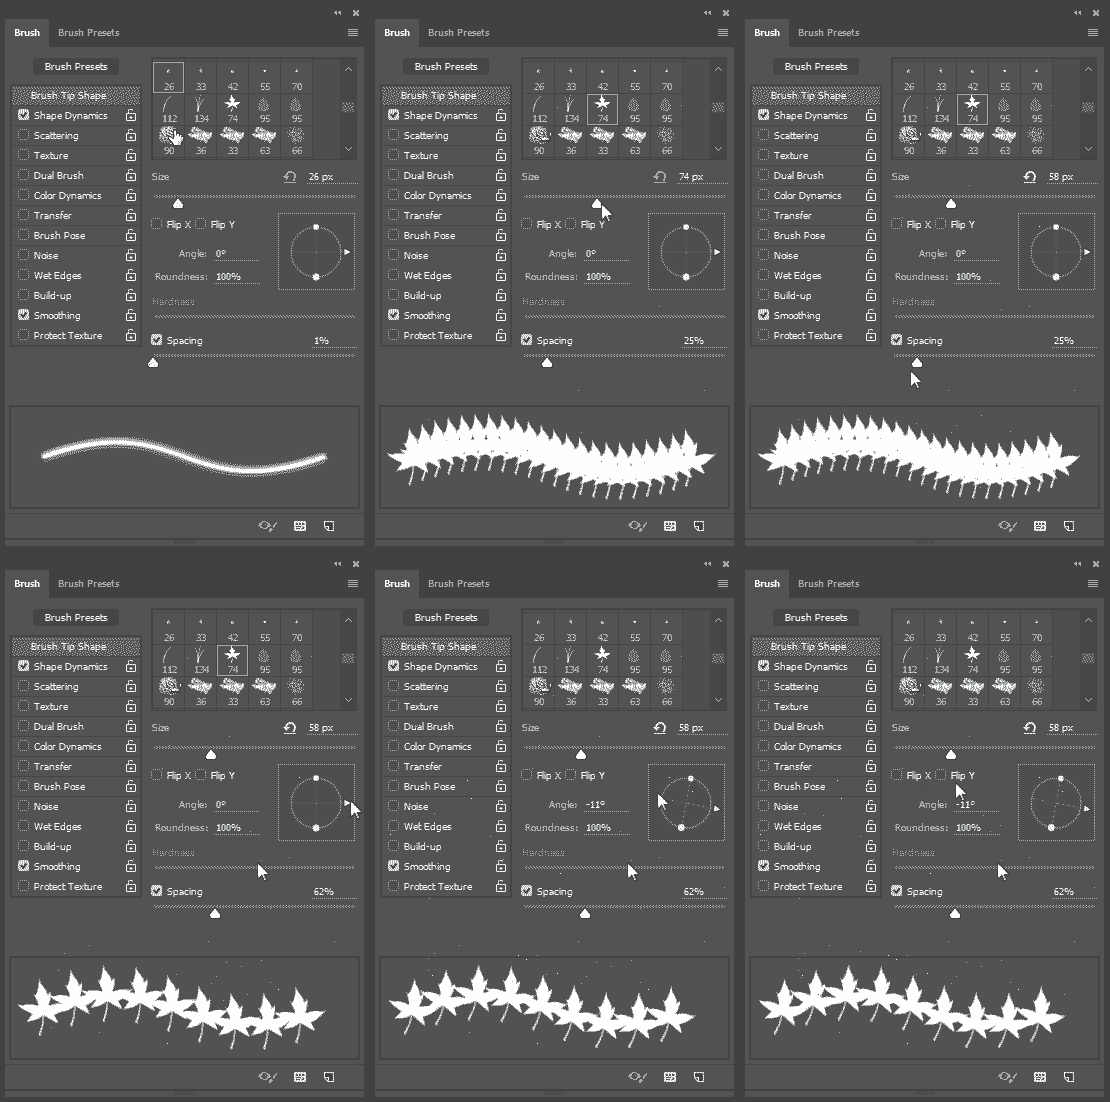
In the Brush Panel you have the option to adjust the brush stroke in more detail. The Brush Tip Shape section allows you to adjust basic parameters such as size, angle, and distance. Some special brush strokes can be even more detailed settings. In addition, you can choose effects for brush strokes such as Shape Dynamic, Scattering, Texture … with each effect also has its own option. This one you can try, I can’t detail the effect ^^.
Some tips when using Brush
Scoring the beginning -> Hold Shift -> Scoring the end to draw a line.

Hold down the shift key and drag the mouse in portrait or landscape direction to draw a horizontal or perpendicular line.

You can switch back and forth between the two selected colors with the keyboard shortcut X. To change the colors back to the default black and white, press the keyboard shortcut D.

Summary
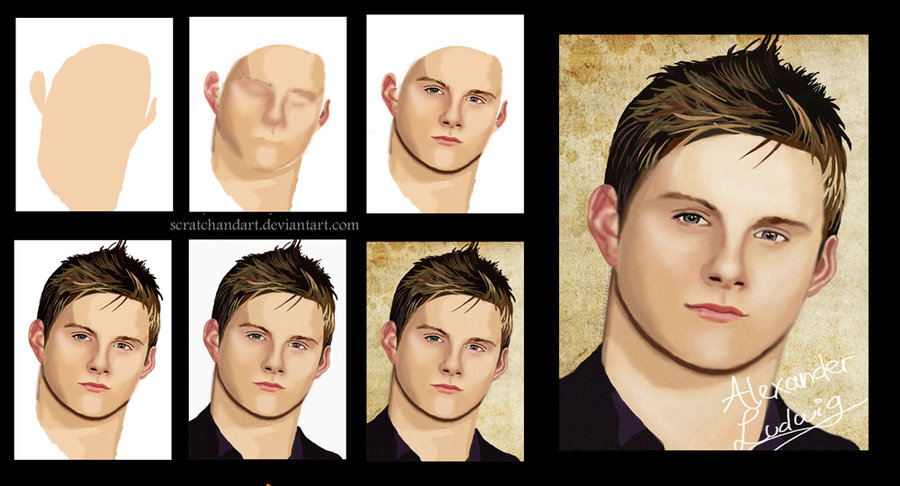
Through this lesson you learned how to use the Brush tool in a basic way. If you love Digital Painting, you can invest in a Wacom drawing board to practice. Hope you create great works like this soon.
And now, open Photoshop and practice from the first strokes.
See you in the next post: How to use Layer Mask in Photoshop.
Click here to return to the basic Photoshop Lessons